Publishing Hugo Website to the Server
Hugo is a static site generator which makes creating websites easy.
The official Hugo Documentation does a great job of getting you started with Hugo, so I won’t go over the same. But like me, if you are new to creating websites, you will most likely face a problem when you want to put your Hugo website on the web.
You may be confused about what files and folders to upload to your web server. I personally feel that this step of the process isn’t much obvious to newbies and is hidden somewhere deep in the official docs.
So, let’s get started.
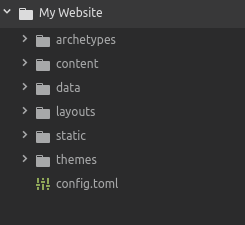
I assume you have Hugo installed on your computer and have a website running on your localhost. At this point, your website directory structure should look something like the one shown in the below picture.
Now, if you want to publish your website to a server or cloud, you need a public folder with all the required files of your website. Then you just have to upload the contents of that public folder to your server.
Hugo can generate that public folder for your website. To do that, run the command hugo from your website’s root directory.
hugoThis will generate a a public folder, and now your directory should look something like this:
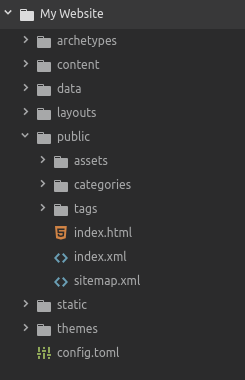
Now, just go ahead and upload the contents of this public folder to your server or cloud. Your awesome website is now available for the whole world!